Arranging a Working Space for Watercolor Painting
Article by Vladimir London, Watercolor Academy tutor
A watercolor artist can paint in a studio or outdoors. In both cases, efficiently arranging a working space will help workflow go more smoothly
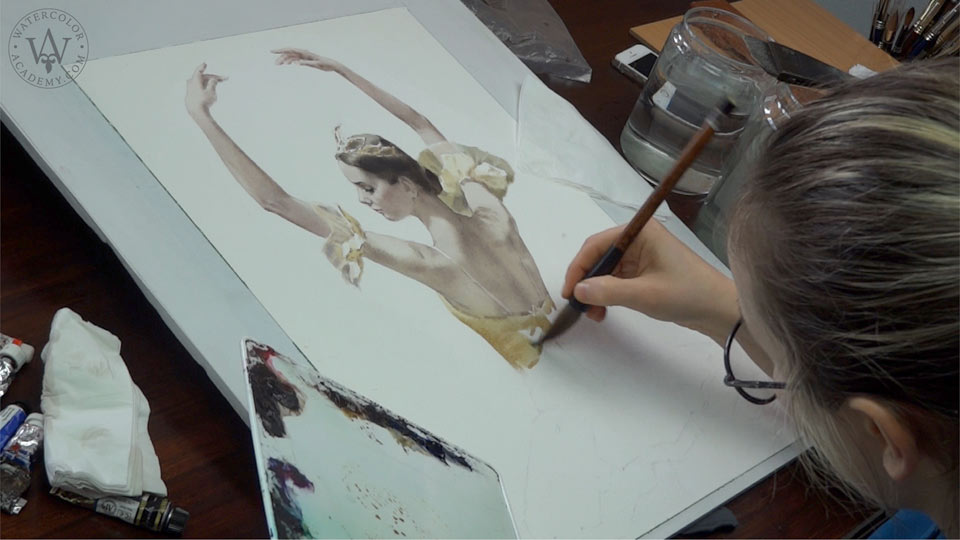
Painting by Anna Ivanova, Watercolor Academy tutor
A good artist studio should have ample natural light and windows facing north. This means direct sunlight will not interrupt the painting process and the light will be more or less unvarying throughout the day.
A painting easel or table should be placed close to a window so an artist faces the window and nothing casts a shadow on the artwork.
A two or more window studio is ideal for drawing and painting still-life or model from life. In this case, the first window should be to the left of the easel and the model should be lit from the other window. This position is suited for a right-handed artist because the shadow from the hand would not be cast over the artwork. For a left-handed artist, it should be reversed, placing an easel so the light will come from the right-hand side.
To prolong working hours outside daylight, good natural-white spectrum lightbulbs or LEDs have to be positioned above the working space so the light won't reflect from the wet paper surface into the eyes.
When the main decision of where to place the easel or table is made, it is time to arrange everything else. I will describe it for a right-handed artist. If you paint with left hand, just reverse the arrangement.
Paints (either in pans or tubes), mixing palettes, water bowl, saucers or cups, pencils and brushes must be placed on a table to the right of the easel. Keep the palette closest to you, then paints, water, and the rest. To the left, you can place the less essential materials like paper towels, sponge, mahlstick, etc.
Nearby place a hair dryer, if you use one for drying wet paper, and a cotton towel.
Keep the same layout of items, including orientation of the paints, so you get used to it and can take whatever you need almost with your eyes closed. This will help you to concentrate more on painting rather than looking for a specific brush or searching for a sponge when you need it urgently.
It is a good habit to place painting brushes in an order and keep this order during the entire painting routine. You can arrange the brushes as follows – keep wet brushes horizontally, ranging from big to small sizes, round separate from flat ones. Dry brushes can be placed vertically, hairs up, in mugs or jars, once again separating the rounds and flats. This way, you will instantly be able to find the needed brush where you left it.
The same goes for paints. You will find it much more convenient to have paints (either squeezed from tubes or arranged in pans) in the same order every time you paint. With time, you will get used to a certain order of paints and taking the required color will become almost automatic.
I often get the same question from Watercolor Academy students: what order should colors be arranged in their pan-boxes or on a palette. There is no strict rule here. However, professional artists like to keep a good order of paints. The usual arrangement is to separate warm and cold colors as well as earthy colors.
In my 24 color-set box, the pans are arranged into two rows. The warm row contains the yellow, orange, red, and earth paints and the cold ones include the green, blue, violet and neutral paints. Within every color, the paints are also arranged according to their "temperature".
Some artists place paints in accordance to the color wheel or a rainbow spectrum. Similar color dyes can also be grouped together, and likewise with pigmented paints.
Whatever your choice is, stick to it and learn the placement of your colors.
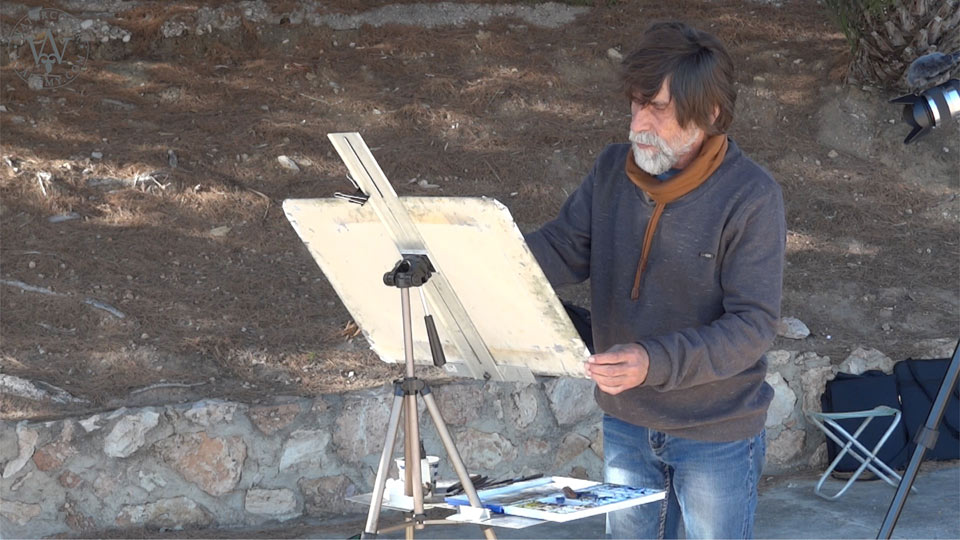
Of course, when painting outdoors an artist has to compromise on the luxuries of a studio. I have two setups for painting "en plein air" – the light version and the more equipped one.
When travelling light, especially abroad, I always take at least the minimum amount of art materials necessary to make drawing and painting sketches on location. This includes a couple of graphite pencils, a red sanguine or red-chalk pencil, a thin permanent marker, a black gel-pen, a small box of watercolor paints, three round brushes (one squirrel and a couple of sables), a couple of binder clips, a small scalpel blade, a plastic container for water and a couple of A5 or A4 sketchbooks (one for drawing and another for watercolor). All of this fits into a small bag and is very easy to carry around.
There is not much to arrange in the "light" version. Often, I hold the sketchbook with the clipped pages in hand. Sometimes, when I am sitting in an outdoor café, I can place the watercolor sketchbook on a table, positioning some random item underneath to have the painting surface tilted.
Under such conditions, I often do fast watercolor sketches using the "outline-and-wash" and alla prima methods, which are described in the "Watercolor painting techniques" video lessons.
You can see me in action, painting in watercolor in various places around the world in the Watercolor Academy video lessons.
When painting outdoors a short proximity from my studio, I like to have more comfort and bring t a foldable drawing table to the location (which is improvised from a plywood board and photo tripods), more paints and brushes as well as heavier and bigger porcelain palettes. I also use bigger (A4-A3) pre-stretched watercolor paper and spend more time on each artwork. Under such conditions, I paint standing up. It makes it easier to take a few steps back and assess an artwork from a distance.
When painting "en plein air", try to find a place in a shadow so your artwork won't be lit by direct sunlight because it will affect your judgment of colors and tonal values.
I strongly encourage Watercolor Academy students to draw and paint outdoors. This is the best way to learn from nature, make sketches from life, and prepare preliminary creative material for longer in-studio studies.
To learn how to paint in watercolor, enroll now
Watercolor Academy Online Course
A self-study, self-paced course where you can learn how to paint in watercolor by watching video lessons and doing assignments
- Unlimited access to 80 watercolor painting video lessons
- Lifetime membership without deadlines
- Unlimited support from the Academy tutors
- Constructive critique of your artworks
- Member access to the Academy's Art community
- Place in the Academy's Students Gallery
- Exclusive members-only newsletter and bonuses
- Watercolor Academy Diploma of Excellence in your name
One-time payment - Lifetime membership
$297 USD
ENROLL NOW
Personal Tutoring online + Online Course
One-to-one, unlimited and custom-tailored to your skills and needs Personal Tutoring by the Watercolor Academy teachers
- Everything in Online Course, plus:
- Dedicated team of art tutors
- Assessment of your current level of art skills
- Personalized curriculum tailored to your skills and goals
- Up to 100 art tasks with by-task assessment
- Unlimited one-to-one personal coaching with detailed per-task instructions and feedback
- Artwork critiques and results-oriented guidance
One-time payment - Lifetime membership
$997 USD
ENROLL NOW