Outlines and Contour Drawing for Watercolor Painting
Article by Vladimir London, Watercolor Academy tutor
Good painting is drawn well. There are many right and wrong ways to transfer a drawing onto watercolor paper
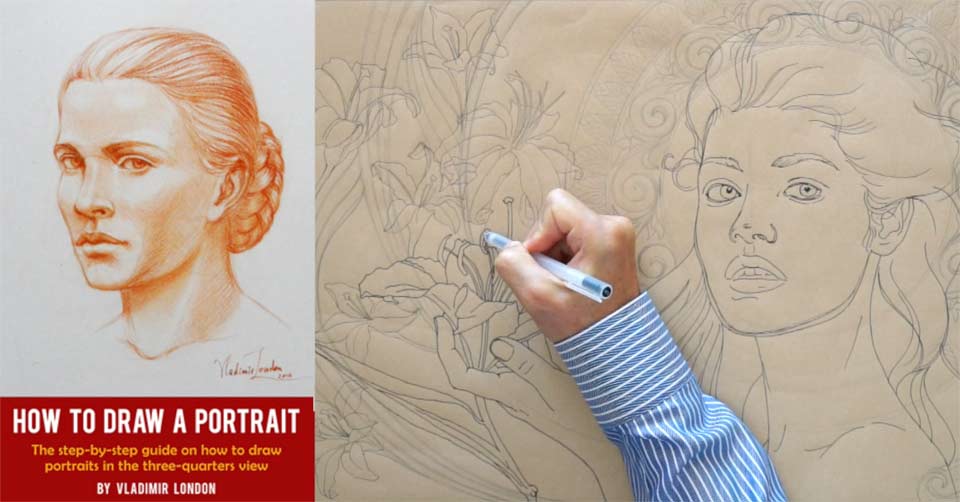
There is an old saying that goes, "good painting is drawn well." Every fine artist wants to be creative and original. However, not everyone can freely express their creativity because of inadequate drawing skills. If you feel that you may benefit from learning the fundamental skills of traditional drawing, you can enroll in the Drawing Academy course where you will find video lessons on the most essential aspects of drawing like constructive drawing principles, the rules of perspective, golden proportions, composition, human anatomy and proportions, and so on. If your ambition is to create realistic portrait and figure art, you will find the Life Drawing Academy course particularly helpful.
One of the questions I am frequently asked is how to transfer a drawing onto watercolor paper.
There are many right and wrong ways to do it. I will briefly mention what to avoid and then describe in detail what methods work best.
Preserving white paper is one of the most important elements in professional watercolor. I dedicated a separate article to how to preserve white paper.
Before starting painting, you want to keep the paper as clean as possible. That is why it is not a good idea to search for inspiration by doodling and sketching directly onto watercolor paper. Making a drawing might involve compositional changes, fine-tuning shapes and proportions and looking for better lines. Such a process may result in erasing and re-drawing or leaving a mess of unwanted lines.
Erasing graphite lines can damage the surface of the paper, which will become very apparent during painting because the erased patches can take paint differently. Muddles of lines and marks do not add a fresh look to an artwork. Finally, while drawing, you can also leave invisible fingerprints on the surface. Human fingers always have a very thin layer of grease, which, once transferred onto the paper's surface, can affect how it absorbs paint.
The solution is to do all preparatory drawings separately and then transfer the final drawing onto a clean watercolor paper sheet.
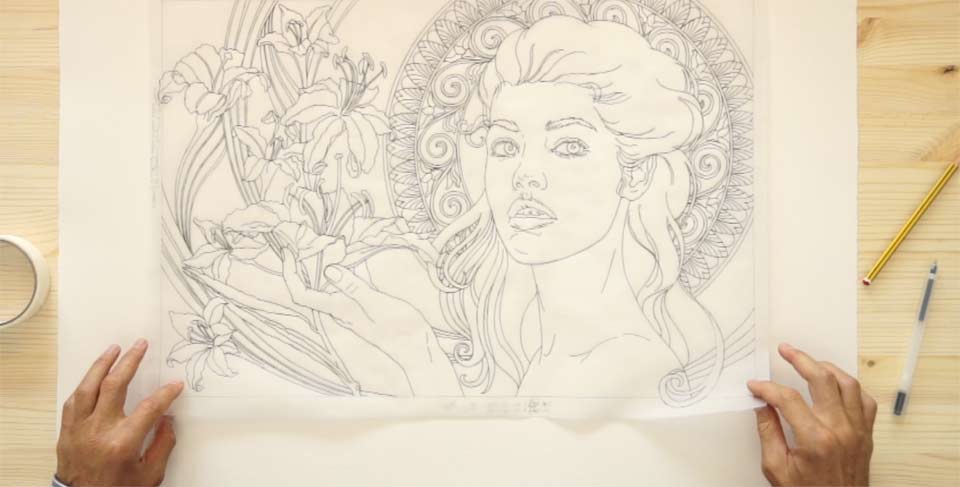
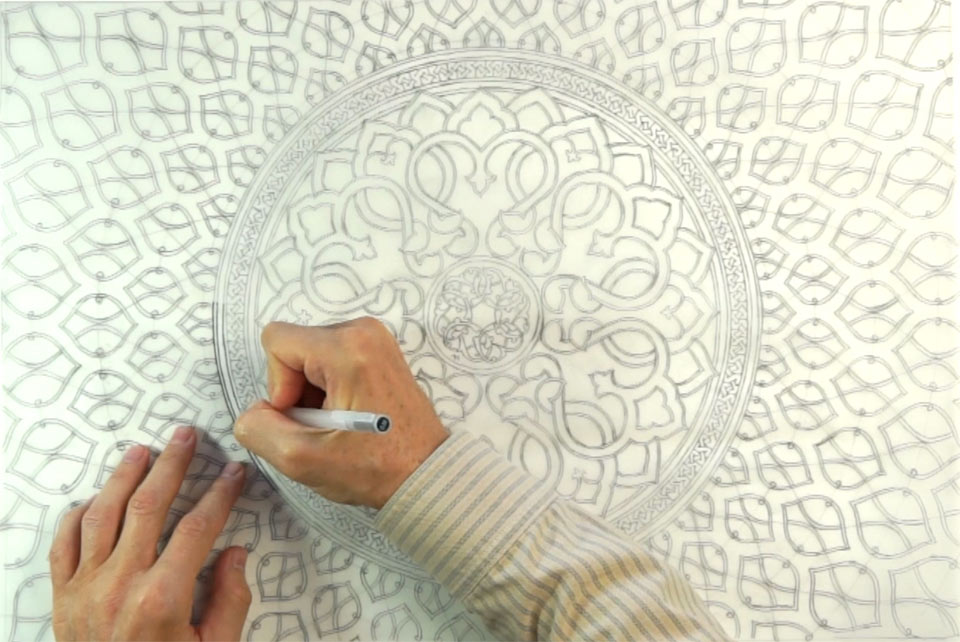
When you have done all your small compositional sketches, it is advisable to make a final preparatory drawing in full size. You can do it as detailed as you want or just mark main masses and shapes. Use thin paper for this cartoon. The word "cartoon" here means a full-size preliminary design for a painting.
The method of transferring contours and outlines from a cartoon to the watercolor paper depends on how thick the paper is.
Papers with 300 gsm or lower weight are transparent enough to use a lightbox or a window to transfer the drawing. First, fix the cartoon to the watercolor paper with self-adhesive tape and place it on the light-box or a window and carefully copy the contours and outlines onto the watercolor paper with a graphite pencil. Make sure to wash your hands with soap to remove the grease from your fingertips before handling watercolor paper extensively.
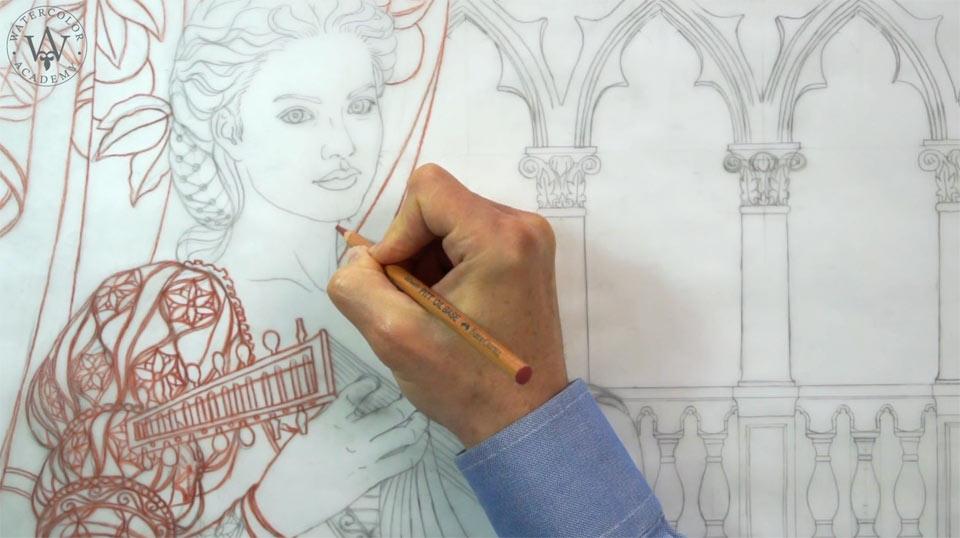
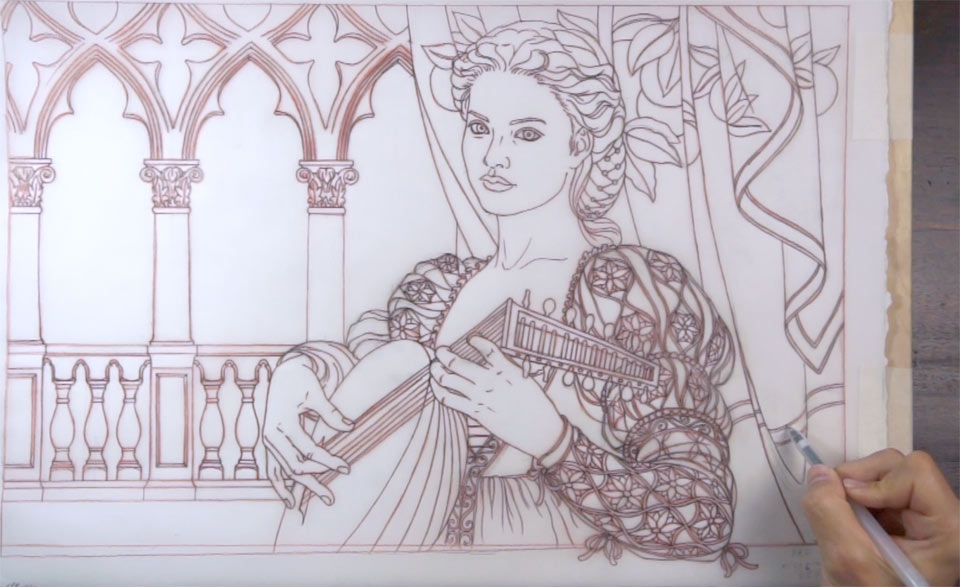
Here's a good tip. For transferring your drawing, use two grades of graphite pencils – 2H and 2B, for example. Outline the lighter areas of the artwork with a harder pencil, and use a softer, darker grade for the shaded places. The light graphite lines will not be very visible in lights under the transparent layers of paint, while darker lines will not disappear after the first washes with less tinted paints.
It is important to only apply light pressure with the pencil to avoid any indentation on the paper surface. The mechanical damage would be visible when the paint flows into the line dents.
Usually, graphite outlines are good enough for transferred drawings. If you have a light-box and want to become more advanced, here is a technique that is not taught in contemporary art institutions. Instead of using graphite, which might remain visible in finished watercolor artwork, you can draw with watercolor paint or ink. For this method, use a thin, well-pointed brush (sable or good quality synthetic) and at least two colors – light blue and orange or red. Outline the light areas of the drawing with the pale blue tint and use red or orange tint for the darker places. In the next paragraph, I will explain the reason for these color choices but you can skip it if science is not your thing.
The cold spectrum of light (blues and violets) have shorter wavelengths than warmer (orange and red) colors have. This means the light-blue outlines reflect shorter waves which will be dispersed more by the top layer of pigments than the longer waves of warm colors. That is why blue lines are less visible in light areas than orange lines. Also, light-blue lines might disappear completely in darker areas after just few washes of paint. If I didn't bore you with all of this this technical information, here's another interesting fact. The same works for sounds. Some bushmen tribes in Africa developed two languages: one for normal communication and another for hunting. They use deeper sounds in everyday life; but when hunting, switch to clicking sounds with a higher pitch. These sounds have shorter wavelengths and travel shorter distances in savannah, so hunters can get closer to wild animals undetected. Let's get back to watercolor.
If you find that the drawing is not visible on a lightbox or window it is because you have heavier and thicker watercolor paper and a denser drawing paper for the cartoon. There is another method which can be used. This method also works for watercolor paper that has been already glued or stapled to the board.
For this, you will need tracing paper the same size as the drawing. Place it on top of the cartoon and outline all the lines in graphite pencil. Turn the tracing paper over and outline the same drawing on the reverse side. This can be done with a graphite pencil or colored pencils.
Turn the tracing paper once again and erase the first drawing. Place the tracing paper on top of the working side of the watercolor sheet, so the graphite marks face the paper's surface. Fix the tracing paper in two corners with self-adhesive masking tape folded to the back of the watercolor sheet. Now, repeat the outlines once again. You can do so with a well-sharpened graphite pencil or even a pen. Check how the outlines are being transferred onto the watercolor sheet. You can vary your pencil pressure if required. While outlining, lift the tracing paper from one side to see if any of the lines are left un-transferred.
Repeating the drawing on both sides of the tracing paper was necessary to avoid a mirror image when the drawing was turned to face the watercolor sheet. Erasing the first drawing makes it easier to see what lines were outlined and which parts of drawing were left untouched. It also keeps your hands clean. If you use colored pencils instead of graphite, blue and red are good for outlining lighter and darker areas respectively.
I find this method a bit tedious because the same drawing has to be outlined several times. To speed up the process, you can do the following. Take the cartoon and place it with the drawing facing down. Put the tracing paper on top and fix it to the cartoon with a couple of pieces of masking tape. Outline the drawing in graphite or colored pencil onto the tracing paper over a window or lightbox. Now do the transfer from the tracing paper to the watercolor sheet as described above. This way, you saved yourself one step of outlining and erasing while preventing image mirroring.
There are other ways of transferring drawings, including square-by-square outlining, using projectors, etc. I advocate my art students work hard on improving their drawing skills rather than looking for ways of copying. Tools can be taken away but your drawing skills are for life.
A fine professional artist is able to draw directly on the watercolor paper from a model or nature with a thin brush in cold and warm tints.
Another advanced method is to draw with clear or slightly tinted water washes. You will find a description of this method in the "Watercolor Painting Techniques" articles.
The highest level of mastery is when an artist doesn't need a preparatory drawing and starts in full color using the alla-prima technique.
You will find video lessons on how to transfer drawings from the sketch to the paper as well as how to draw with a brush and do alla-prima without an under-drawing in the Watercolor Academy course.
To learn how to paint in watercolor, enroll now
Watercolor Academy Online Course
A self-study, self-paced course where you can learn how to paint in watercolor by watching video lessons and doing assignments
- Unlimited access to 80 watercolor painting video lessons
- Lifetime membership without deadlines
- Unlimited support from the Academy tutors
- Constructive critique of your artworks
- Member access to the Academy's Art community
- Place in the Academy's Students Gallery
- Exclusive members-only newsletter and bonuses
- Watercolor Academy Diploma of Excellence in your name
One-time payment - Lifetime membership
$297 USD
ENROLL NOW
Personal Tutoring online + Online Course
One-to-one, unlimited and custom-tailored to your skills and needs Personal Tutoring by the Watercolor Academy teachers
- Everything in Online Course, plus:
- Dedicated team of art tutors
- Assessment of your current level of art skills
- Personalized curriculum tailored to your skills and goals
- Up to 100 art tasks with by-task assessment
- Unlimited one-to-one personal coaching with detailed per-task instructions and feedback
- Artwork critiques and results-oriented guidance
One-time payment - Lifetime membership
$997 USD
ENROLL NOW