Watercolor Academy Online Course
A self-study, self-paced course where you can learn how to paint in watercolor by watching video lessons and doing assignments
$297 USD
ENROLL NOWA self-study, self-paced course where you can learn how to paint in watercolor by watching video lessons and doing assignments
$297 USD
ENROLL NOWOne-to-one, unlimited and custom-tailored to your skills and needs Personal Tutoring by the Watercolor Academy teachers
$997 USD
ENROLL NOWVideo lesson by Vladimir London
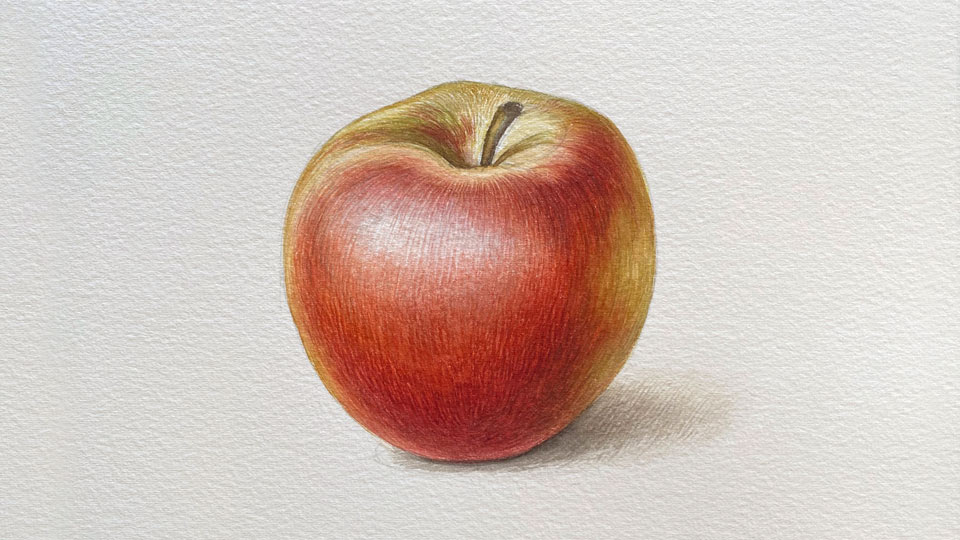
In this video lesson, you will discover how to paint in watercolor using the Retouching technique.In order to demonstrate the retouching painting technique, I will create another artwork of an apple. To begin with, I will make a quick sketch in graphite pencil on watercolor paper. For the Retouching technique, I will use a small, round brush from Escoda. This natural hair Kolinsky-Sable brush is quite springy and holds its tip very well.
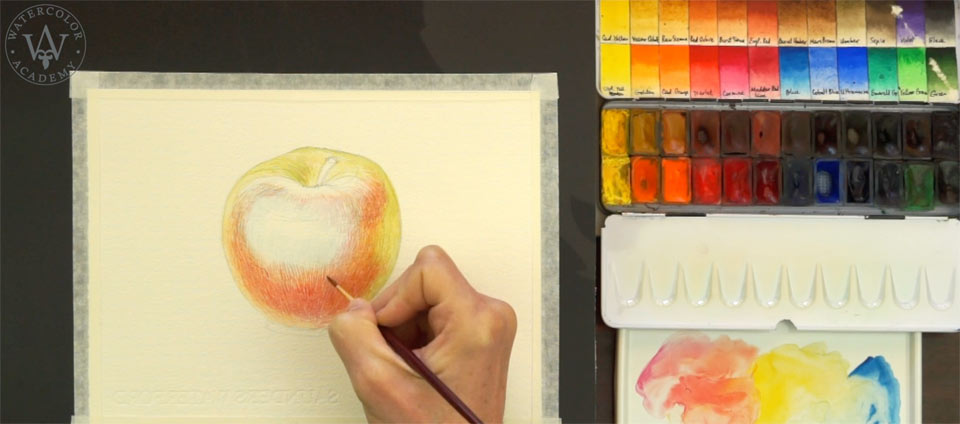
I will start painting with light colors and later on, I will continue to darker tones.
Retouching is always applied on the dried paper surface. This technique is done with very small brush strokes, or even separate tiny dots which are applied with a small, very pointy brush tip. Because the brush strokes are so tiny, it takes a lot of time to paint an object using this technique. Even though this particular apple artwork is so small, it would likely take around several thousands of brush strokes to complete it. I have to say that, from the very beginning, Retouching is not the mainstream watercolor painting technique that every artist uses, because it is labor-intensive and time-consuming. Also, the style of an artwork produced with Retouching may not be to everyone's taste. Many watercolor artists prefer painting with wide and juicy impressive brush strokes, rather than patiently filling the space with multiple tiny dots. Nevertheless, in order to demonstrate Retouching to you, I will do the entire artwork using this technique alone.
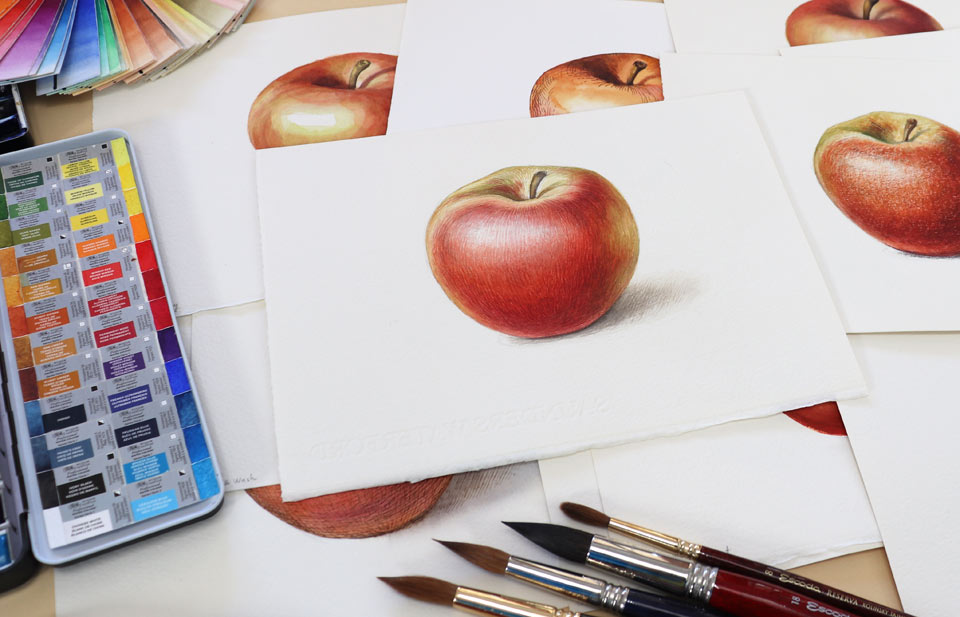
Because Retouching brushstrokes are so small, the paper tooth plays an important role here. There are three types of paper texture: smooth, medium and rough; and the smoother the texture is, the more suitable it is for the Retouching technique. Hot-pressed watercolor papers have the smoothest tooth. It is easy to carry out Retouching on this type of paper surface. Cold-pressed paper can also be used for this purpose; however, it will be a bit more difficult to paint on textured paper, because a brush will easily make marks on top of the texture bumps, but not always touch the bottom of the tooth. And finally, the rough paper with the largest texture will be the last suited for the job.
Now, I have to say a few words about the wetness of the brush, and how much pigment should be loaded onto it. Unlike for the dry brush technique, a bit more water can be used for mixing pigments on the palette. However, the brush should not be overloaded with water because there is a risk of making accidentally bold brush strokes, which will look out of place among delicate and tiny strokes produced from this technique. Also, the beauty of this painting technique is that separate tiny marks on paper are made. Brush strokes which are too wet will take a longer time to dry, and whilst they are drying, it is not advisable to make another brush stroke on top, or overlapping, the wet surface.
Therefore, keeping water to the minimum is the best way to speed up this time-consuming process, because semi-wet brush strokes will dry faster. If wet brush strokes overlap each other, they will fuse together, forming bigger wet spots. To avoid this fusion, it is better to apply brush strokes with some gaps between them. When they dry, the artist can return to the same area, and fill any wide gaps remaining between brush strokes. Here, I am going to cover how much pigment is required. When Retouching, it is possible to achieve light tints in two ways. Firstly, the pigment can be diluted with water even more, although oversoaking is not an option for reasons as those described above. However, a second way is by leaving unpainted white paper between brush strokes. Tiny white spots of paper will play their role in the optical mixing of colors, making tonal values lighter. In this artwork, you can see this effect around the highlight on the side of the apple.
Darker tonal values of the same color can be achieved by hatching brush strokes in multiple layers. Of course, every layer has to be fully dry before applying the next one, in order for separate brush strokes to remain visible and not to intermix with each other.
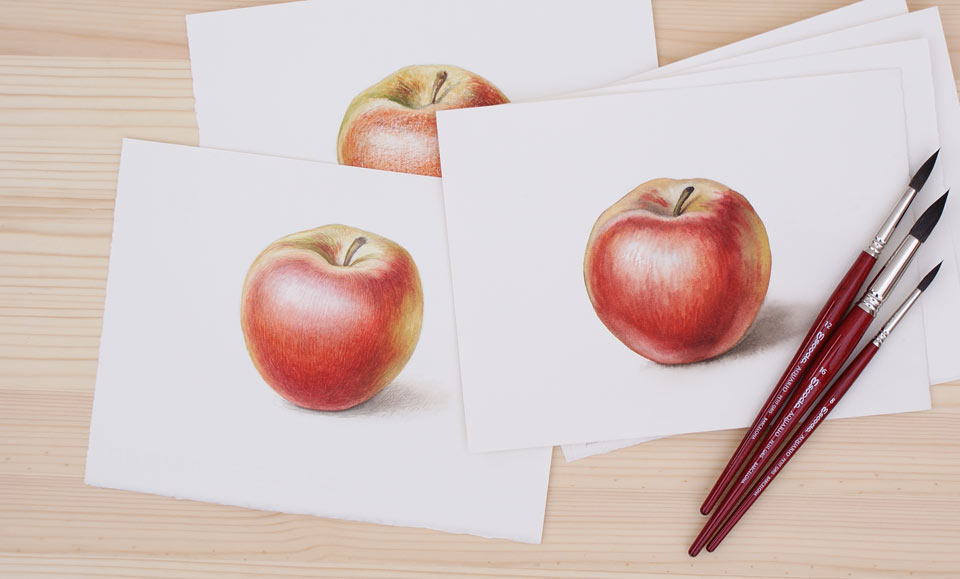
There are many advantages of the Retouching watercolor painting technique. First of all, this a technique for precision. Working with a very small brush, by definition, will give you greater control over small details. Also, you will have a greater control over tonal values, because they are developed step by step, layer by layer. Furthermore, watercolor paint will look brighter and more saturated, when applied with small brushstrokes on the hot pressed watercolor surface. There are two reasons for this, the first is that tiny brush strokes will dry faster and pigment particles will have less time to sink down into the paper fibers. They will grip to the paper surface and reflect more saturated colors. Secondly, the hot-pressed paper surface is less absorptive and reflects more light, which will add to the brilliance of colors. I hope that this explanation gives you a full picture of what the Retouching technique is and how to use it. Now, I will cover when to use it.
Retouching is a technique of choice for making miniature artworks. If a picture is no larger than a square inch, there is no other way than to use a tiny brush and paint with very small brush strokes. Also, if you make a very detailed illustration, small details will require small brush strokes.
Retouching may also be required if you are working on a hyper-realistic artwork, and you would like to add a very life-like texture. Because of the nature of this technique, it is better to use it in the final stages of an artwork, because otherwise the intricate array of dazzling brushstrokes might be lost beneath the layers of washes and juicy passages of watercolor paint.
A self-study, self-paced course where you can learn how to paint in watercolor by watching video lessons and doing assignments
One-time payment - Lifetime membership
$297 USD
One-to-one, unlimited and custom-tailored to your skills and needs Personal Tutoring by the Watercolor Academy teachers
One-time payment - Lifetime membership
$997 USD


