Watercolor Academy Online Course
A self-study, self-paced course where you can learn how to paint in watercolor by watching video lessons and doing assignments
$297 USD
ENROLL NOWA self-study, self-paced course where you can learn how to paint in watercolor by watching video lessons and doing assignments
$297 USD
ENROLL NOWOne-to-one, unlimited and custom-tailored to your skills and needs Personal Tutoring by the Watercolor Academy teachers
$997 USD
ENROLL NOWVideo lesson by Vladimir London
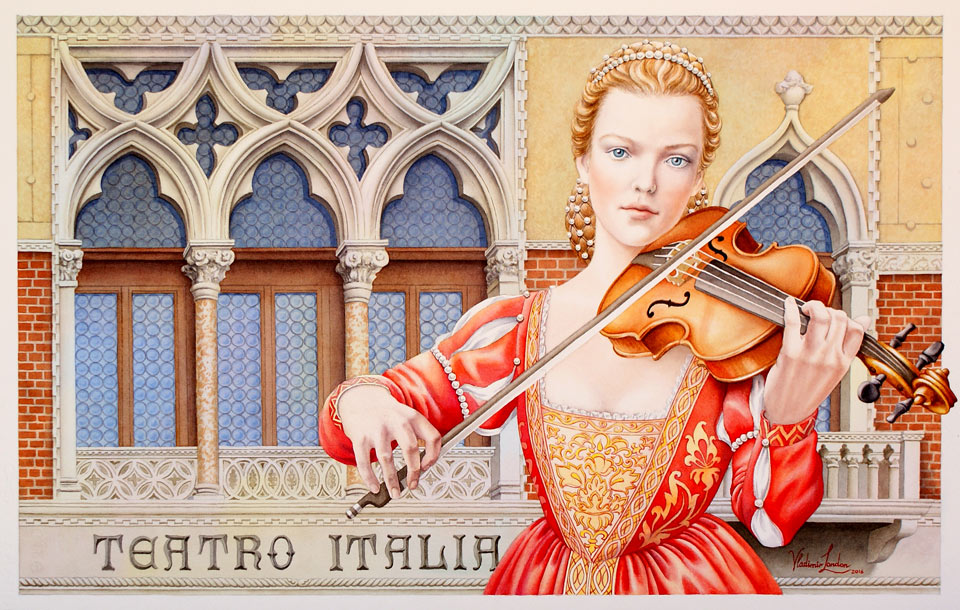
In this video lesson, you will learn how to paint a figurative illustration in watercolor.
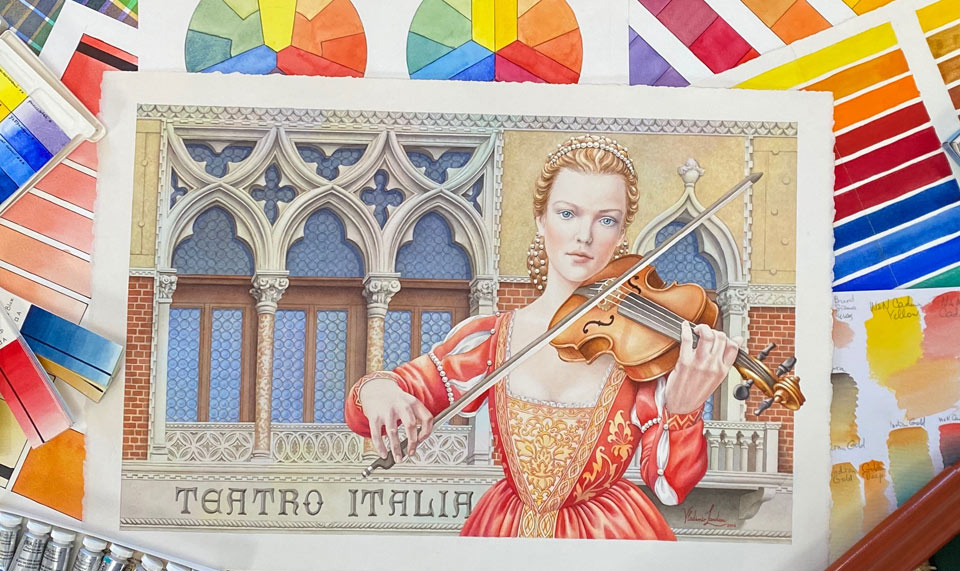
Here is the painting I will have by the end of this lesson.
I took inspiration for this artwork background from the streets of Venice. Here is the Teatro Italia building and I'm making a quick sketch of it, on location. I will do a quick watercolor using the pen-and-wash method. The drawing is done in permanent marker which will not dissolve when I apply the watercolor washes on top.
The purpose of this preliminary watercolor sketch is to capture the feeling of this place and is a very valuable exercise before starting the actual artwork itself. I have no intention of capturing every small detail in this small sketch. This picture is just for my reference when I do the artwork in the studio. If you have the opportunity to paint outdoors while you are traveling or in your home country, use these experiences not only to improve your watercolor painting skills, but also to collect inspiration for your future artworks.
I'm now back in the studio and will start by affixing the watercolor paper to the board. This time, I will show you one method that is not widely used by watercolor artists. However, you may find it helpful if you want to properly glue paper to the drawing board and have its front surface fully exposed but at the same time to be able to take the finished piece off the board without damaging neither the watercolor paper nor the board. First, I apply the brown glue tape, moistening it in water, and affixing it to the board to protect the board from the next layer of glue. Now, I take another strip of the brown tape and apply the PVA glue on its clean side. Now this strip can be glued on top of the brown paper which was affixed to the board previously. I do it along all four edges. Because the PVA glue is between the brown tapes, it will be much easier to remove them from the board. Instead of gluing the watercolor paper sheet to the wooden board permanently. Now, I will wet a half-sheet of good quality watercolor paper, made of 100% cotton, on both sides with clean water. This paper has 300 gsm weight; it is cold-pressed and it will take 10 to 15 minutes for the paper sheet to absorb the water and expand in size.
When the watercolor paper is ready, I moisten the brown glue tape and carefully place the watercolor paper sheet on top of the brown tape. It's important to wash your hands first to rid them of any traces of brown paper glue because a single fingertip of this glue could ruin the painting. I will now press slightly on the paper's edges to adhere them to the tape and let it dry for several hours or overnight.
When the paper is totally dry, I can transfer the design from the tracing paper. This tracing paper is affixed to the board on one side with masking tape, so I can lift it from the other side to check how the drawing is transferring. I skipped the process of making a cartoon drawing for this artwork, but if you would like to learn how to draw whatever you see or imagine, you can do it by watching the 45 video lessons of the Drawing Academy online course. With the drawing transferred to the paper, it's time to begin the first wash. I call this wash the imprimatura. I do it with a very transparent and light tint of blue paint, using the plain wash method. The purpose of this wash is to make the background area off-white and give a light blue color to it. This, of course, doesn't mean that the theater wall will be blue. Quite the opposite! This wall will have yellow, orange, and brown colors of the plaster and the brick work; and this light blue tint won't even be visible on the final artwork. However, because watercolor layers are transparent, it will play a role in the overall color of the wall. I only do this type of imprimatura when I'm planning to paint an artwork using multiple glazing layers.
The color of the violin player's dress will be red, so I painted that area with a light-yellow tint. I will leave the dress for now and will come back to it later after painting the background. You may notice that I'm not using any masking fluid to preserve the white areas. Instead, I carefully paint around the areas freehand to achieve more natural and much better-looking borders between colors. Here is a good tip: If you can go without masking fluid, it is better not to use it. You may notice that even white lines between red bricks are preserved without any masking fluid. I'm now painting in grisaille, which is monochrome, defining tonal values of the windows and the gothic architecture stonework. To suggest the marble material of the columns, I paint their texture with a small round brush. The glass of the windows reflects the blue sky, so I will apply a light blue tint to depict these windows. They will also be painted in several layers, so the blue tint I'm using now is not the full-strength blue color these windows will have. It is a highly-detailed artwork and painting it alla prima would not give the result I would like to have for this illustration.
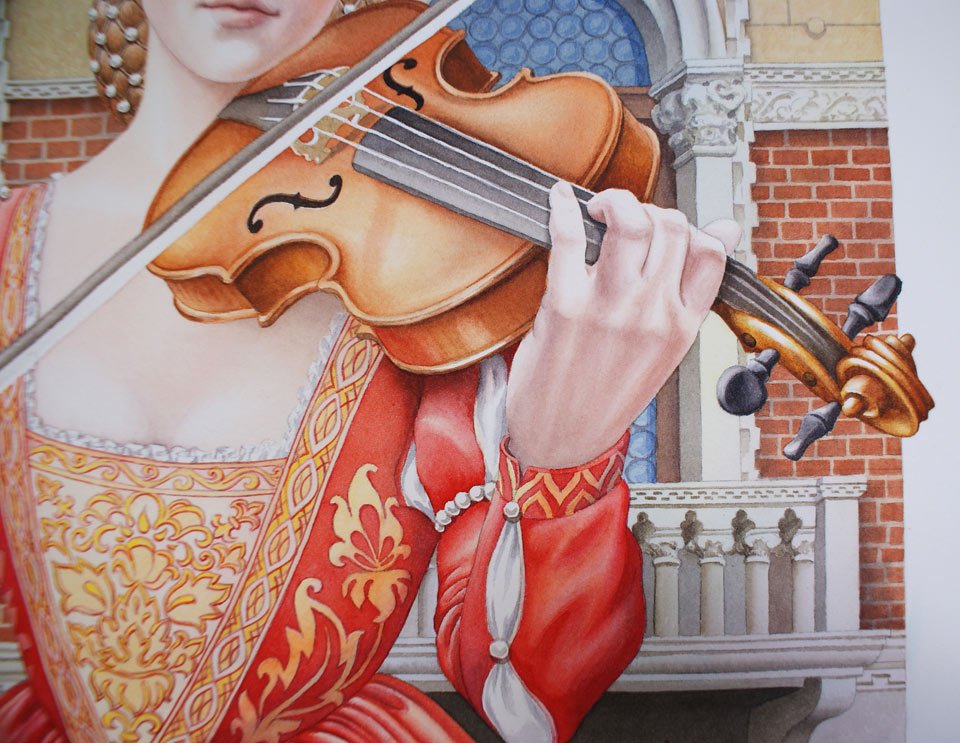
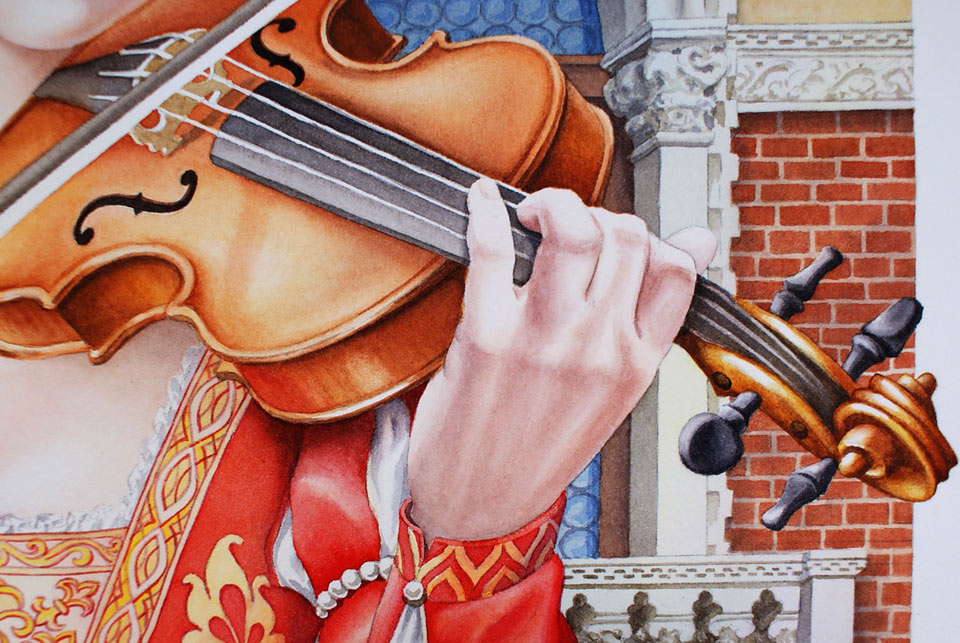
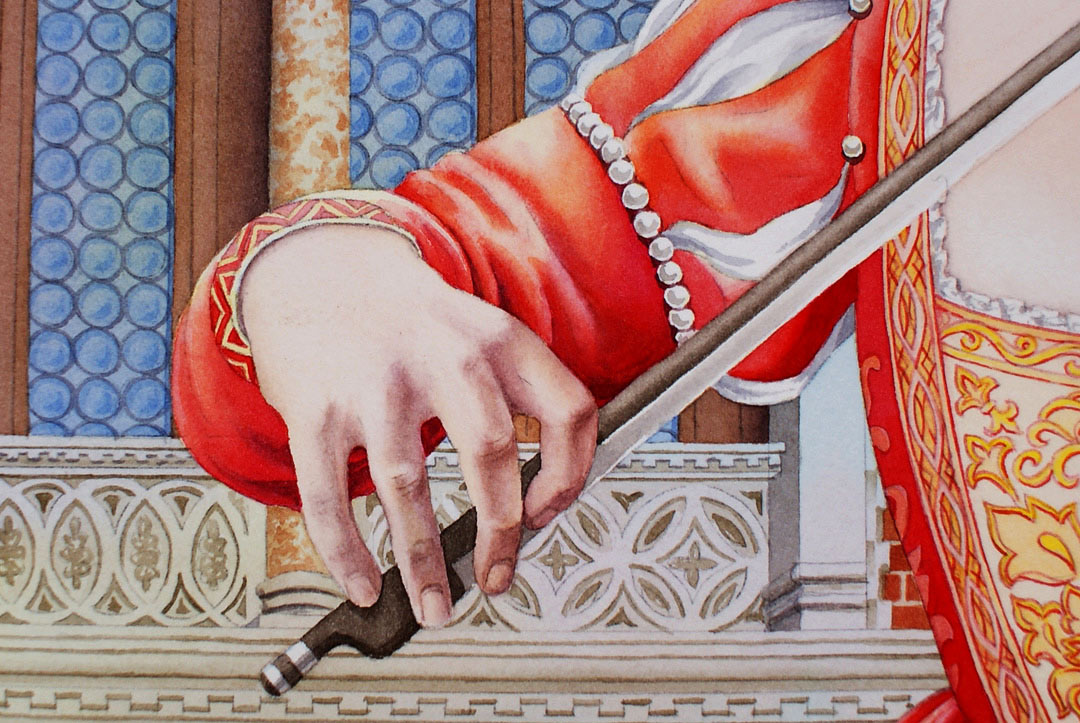
This type of multilayer painting requires some planning. I have to take into account many things about this picture. There are some rules which will help you to plan your watercolor painting. First of all, it's better to do an artwork from light tones to darker tonal values. With each new layer of paint, the area you're working on will become darker. There's no limit to how many layers you can apply, however, there is a danger of making a watercolor artwork dull by applying too many layers. You can enhance the color saturation, or mute it, depending on what colors the different layers have. Under no circumstances should you apply so many layers that it becomes opaque. Even in the darkest places of an artwork, the white watercolor paper must show through the painted layers. Also, it's better to start with more transparent and less pigmented paints and finish a piece by applying heavier pigment paints which are more opaque than the layers underneath. There are many other watercolor painting rules that you will find in this watercolor course. I'm now painting the dress which has an intricate design; but you will see that, even for this complicated organic pattern, I did not use any masking fluid. It might take a bit more time to paint elaborate details with a small round brush, preserving the design by painting around its elements, but the end result will look much better and more organic and natural than if I used some masking fluid to speed up the process.
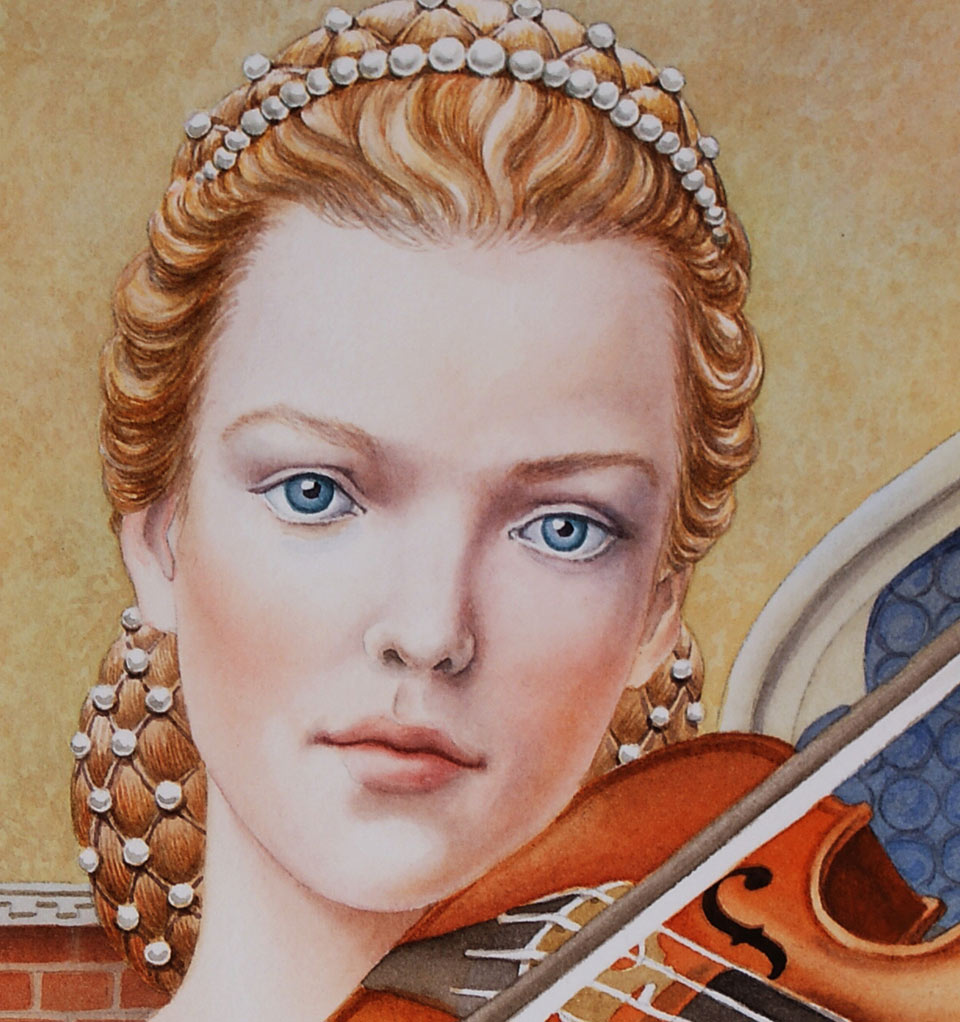
I will start with a light orange tint, covering the whole area of the hand with this mix. The same paint is used for the face. This layer is an imprimatura. Its main purpose is to make the paper off-white and to be the underlayer for all the colors and tones that will be painted on top. I will allow this layer to thoroughly dry before continuing to paint the portrait and hands.
When the imprimatura is dry, I apply clean water with a soft, round brush that will make it possible to paint wet-into-wet. If you're wondering why I let the imprimatura dry and then applied water to wet it once again, there is a good reason for that: I would like to keep the imprimatura color in place without mixing it physically with another pigment. So, I dry each layer before applying the next one. This way, the color of each layer will contribute to the optical mixing when the light goes through all transparent paint layers and bounces back, reflected by the white paper. So, the final color we will see consists of the visually mixed colors of each layer. That is why, to preserve the color of each layer, I fully dry it; and, to speed up this process, I'm using a hairdryer.
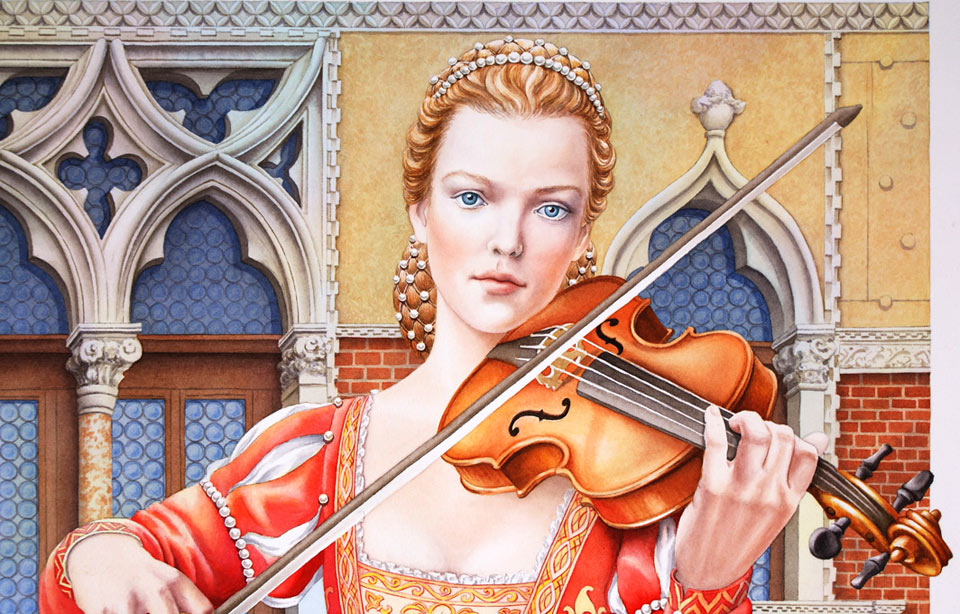
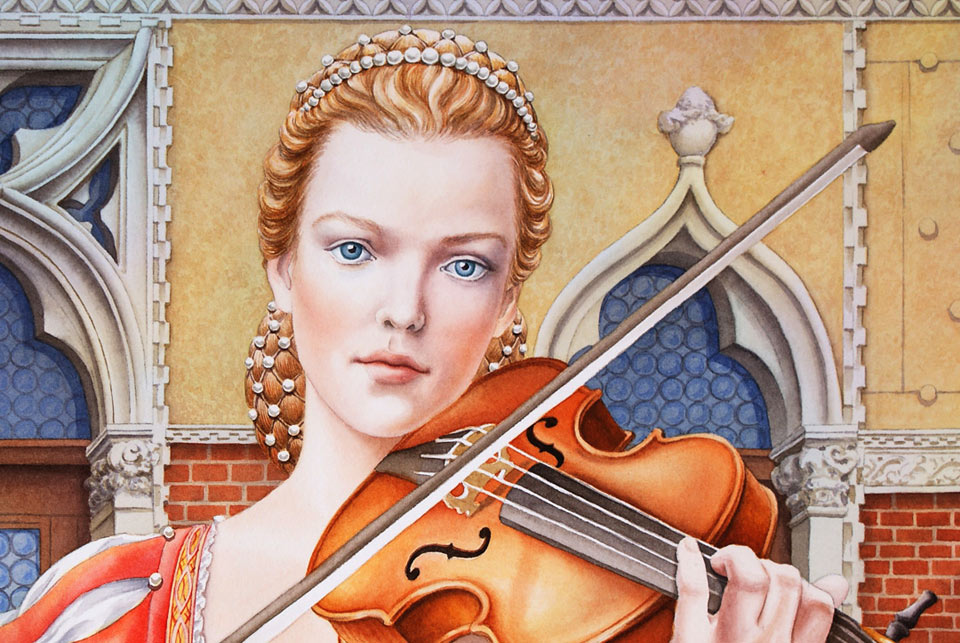
This portrait will be painted in many transparent layers which is called "glazing". This painting technique was often used by the Old Masters in oil painting. This is what makes their masterpieces so special. If you try to paint a similar portrait in alla prima (or, in one session), you'll see that the end result will be very different. I'm painting the eyes with a small, round brush which is not painting as much as it is drawing. I draw this portrait in color with the brush. So, to answer the question, how to paint a good watercolor portrait, I would say that, above all, you have to possess good drawing skills. And good drawing skills are not about how accurately you can copy what you see but how much you know about proper drawing techniques and how well you can use them. This knowledge, above all, includes the constructive drawing principles, human anatomy, proportions of a human body's head and face, know-how of figurative drawing, good understanding of tonal values and how to render them, and much, much more. When it comes to drawing portraits from life, memory, or imagination, good results will greatly depend on what you know about a human head's construction, anatomy, and proportions. It's very much about drawing what you know, not copying what you see.
I will explain the difference between "drawing what you know" and "depicting what you see" in the following example. If you don't already know the rule of classical proportions that the eye line divides the height of the head exactly in half, it would be very difficult to see this proportion in life. That is why so many children's drawings have faces placed much higher than they should be.If you don't already know that the height of the face can be divided into three equal parts - from the top of the forehead to the eyebrow ridge, from that level to the base of the nose, and from the nose to the bottom edge of the chin - then you might easily make mistakes with these proportions. Apart from proportions, there are many other constructive drawing principles a fine artist has to be aware of. I cannot cover everything you need to know about making portraits in one short video. That is why we created a 52-video lesson art course which you can take online at your own speed, in the comfort of your home. This online course is available at Life Drawing Academy.
However, if you feel that self-paced learning is not your cup of tea and you need the personal guidance of talented and professional art tutors, you might consider the Life Drawing Academy Correspondence Course. This correspondence course is unique and you won't find the same deal anywhere else. In the correspondence course, you will have a team of art tutors who will personally guide you, step-by-step, until your drawing skills have improved to an advanced level. What makes this course unique is that your curriculum will depend on your level of drawing skills, as well as on the goals you would like to achieve.
This curriculum will be custom designed just for you. To assess your current level of drawing skills, you will be given drawing tasks and your results will be assessed by tutors who will give you feedback and advice on how to improve your skills. Your curriculum will include up to 100 drawing tasks that you will have to do, one by one, a step at a time, as explained and demonstrated by the course tutors. So, you will not be left alone and your progress will go smoothly from task to task with guidance from your personal art teachers. This Life Drawing Academy Correspondence Course is provided via email so you will have all the instructions and critiques written down and available for you at any time in the future, should you want to revisit previous drawing tasks to refresh your knowledge and the skills we will give you to practice in each task.
What makes the Life Drawing Academy Correspondence Course truly unique is that it is the only place you can get unlimited one-on-one personal art tutoring for a very low, one-time fee. This is the only place where your drawing skills will be thoroughly assessed and an individual curriculum will be tailored to your current skill level and your artistic goals. In the Life Drawing Academy, you will learn from professional artists and art tutors who teach the same drawing techniques as taught in the best Russian art academies. In the Life Drawing Academy course, you can rely on unlimited personal support that includes artwork critiques and answers to your art questions. This support comes for a lifetime at no extra cost. As a Life Drawing Academy student, you get a lifetime membership and can study at your own pace in the comfort of your home. There is simply no other art course like this one and if you have some basic drawing skills and would like to learn to draw realistic portraits and figures from life, memory or imagination, this course is for you.
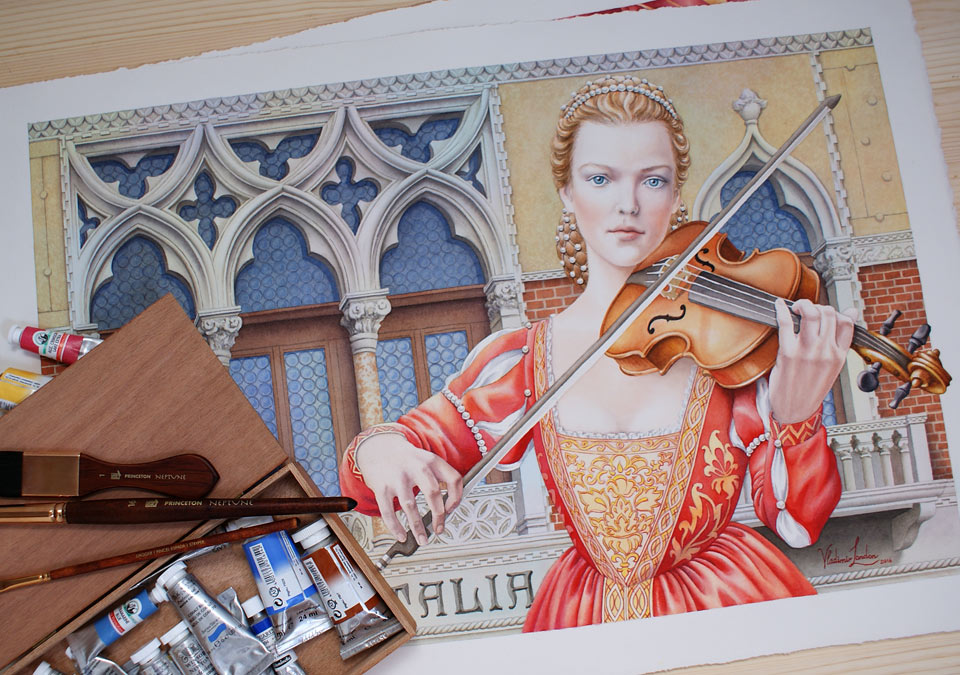
Now, let's come back to the watercolor. By now, I have finished the portrait and most of the violin. What I would like to do now, is the final variegated wash over the background. For this purpose, I prepared three primary and three secondary colors; and I will apply these colors randomly, next to each other with a soft, round brush. Each paint mix is very light. It won't dramatically change the hue contrast of this artwork, but will make it a bit more colorful and interesting. Sometimes, I use a variegated wash as an underpainting. However, this time, I apply it as the final layer for the background. This light paint layer will dry and become even lighter. So, it won't affect the tonal values much of this artwork, but it will unite separate architectural details into one wall.
This is another rule of watercolor painting you may want to keep in mind and employ when creating an artwork. First, you may start with big areas, then work on small, separate details, and then unite those details with the bigger areas once again by applying big washes over them. This cycle can be repeated several times to achieve the creative task you have in mind. As you see, adding multiple colors on top of the windows and columns did not destroy their appearance and the windows are still cool blue and the architecture is warm. Each layer I apply is only added when the previous one is dry. This multilayer painting technique gives you great control over the paint flow and its appearance. This is a great way to make highly-detailed illustrations where you'd like every brushstroke to stay in place as you intended. I will increase the saturation of the red dress by adding one more layer of red paint, once again painting around the design elements without any masking.
A self-study, self-paced course where you can learn how to paint in watercolor by watching video lessons and doing assignments
One-time payment - Lifetime membership
$297 USD
One-to-one, unlimited and custom-tailored to your skills and needs Personal Tutoring by the Watercolor Academy teachers
One-time payment - Lifetime membership
$997 USD


