Watercolor Academy Online Course
A self-study, self-paced course where you can learn how to paint in watercolor by watching video lessons and doing assignments
$297 USD
ENROLL NOWA self-study, self-paced course where you can learn how to paint in watercolor by watching video lessons and doing assignments
$297 USD
ENROLL NOWOne-to-one, unlimited and custom-tailored to your skills and needs Personal Tutoring by the Watercolor Academy teachers
$997 USD
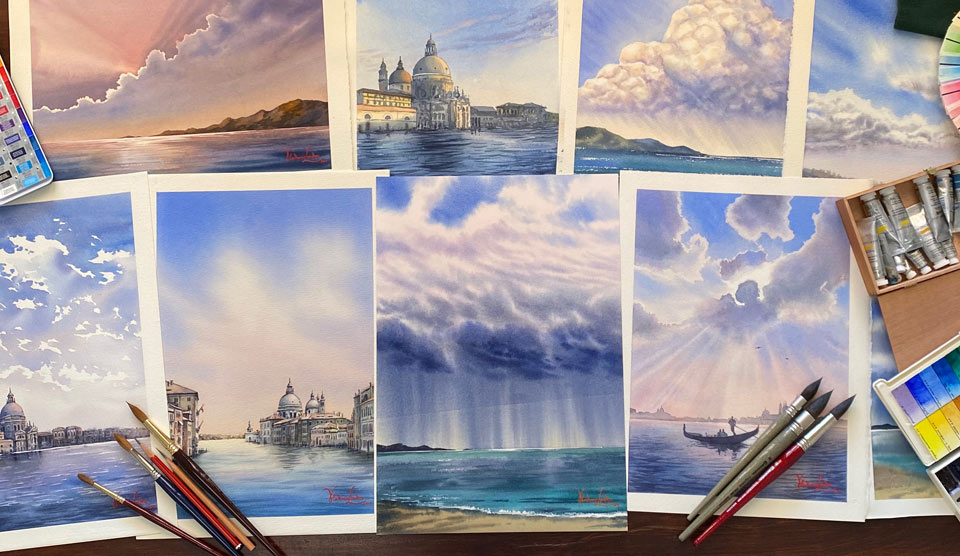
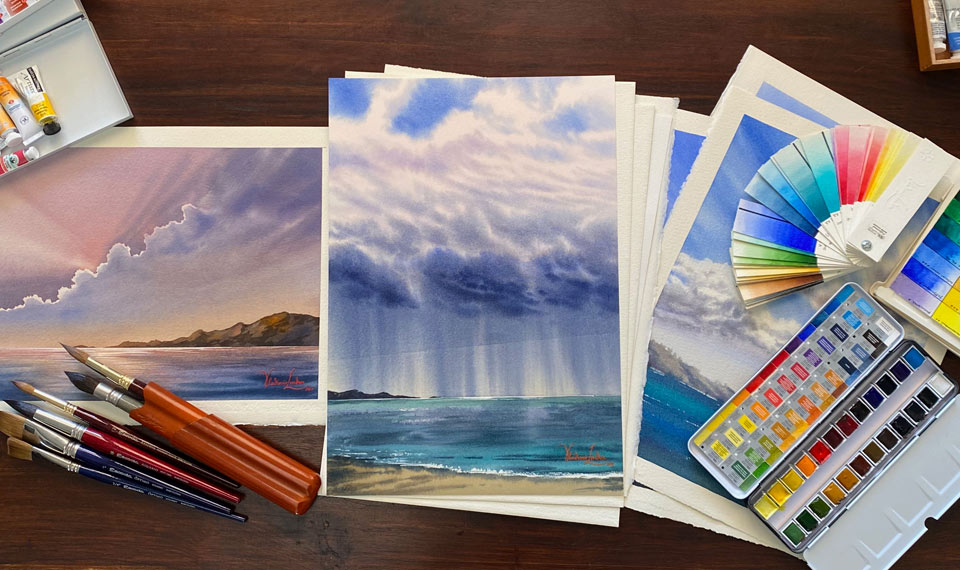
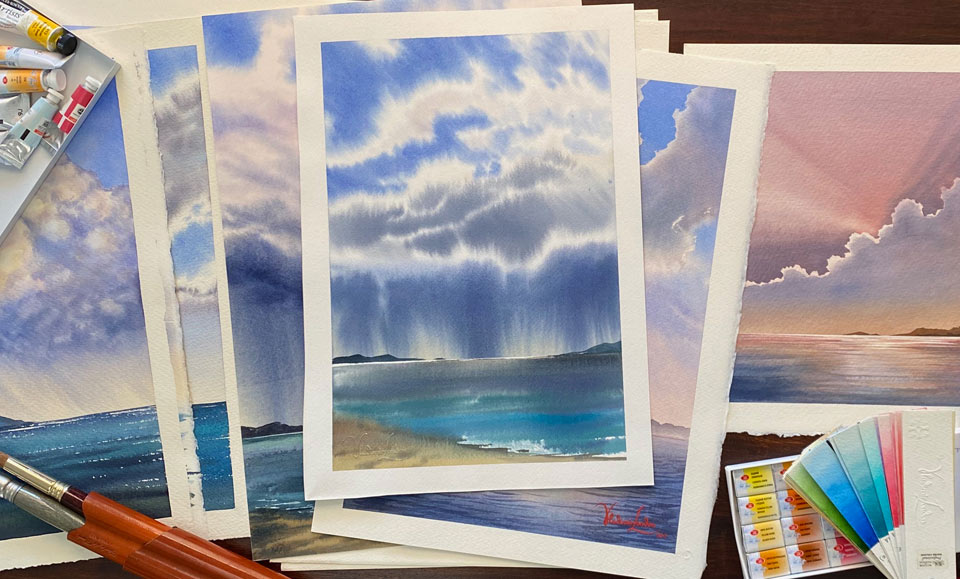
ENROLL NOWVideo lesson by Vladimir London
In this video lesson, you will discover how to paint sky and water using the wet-into-wet watercolour painting technique.
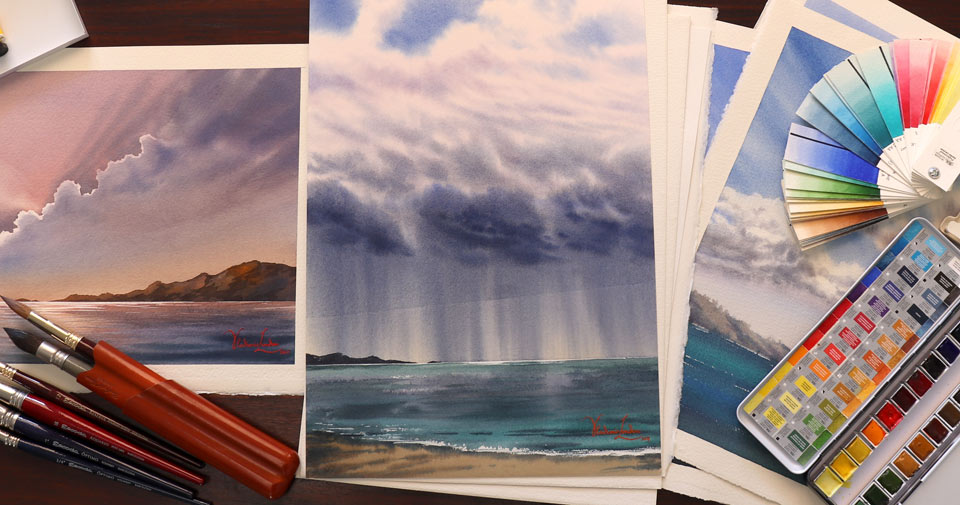
Here is the finished artwork that I aim to achieve by the end of this video lesson.
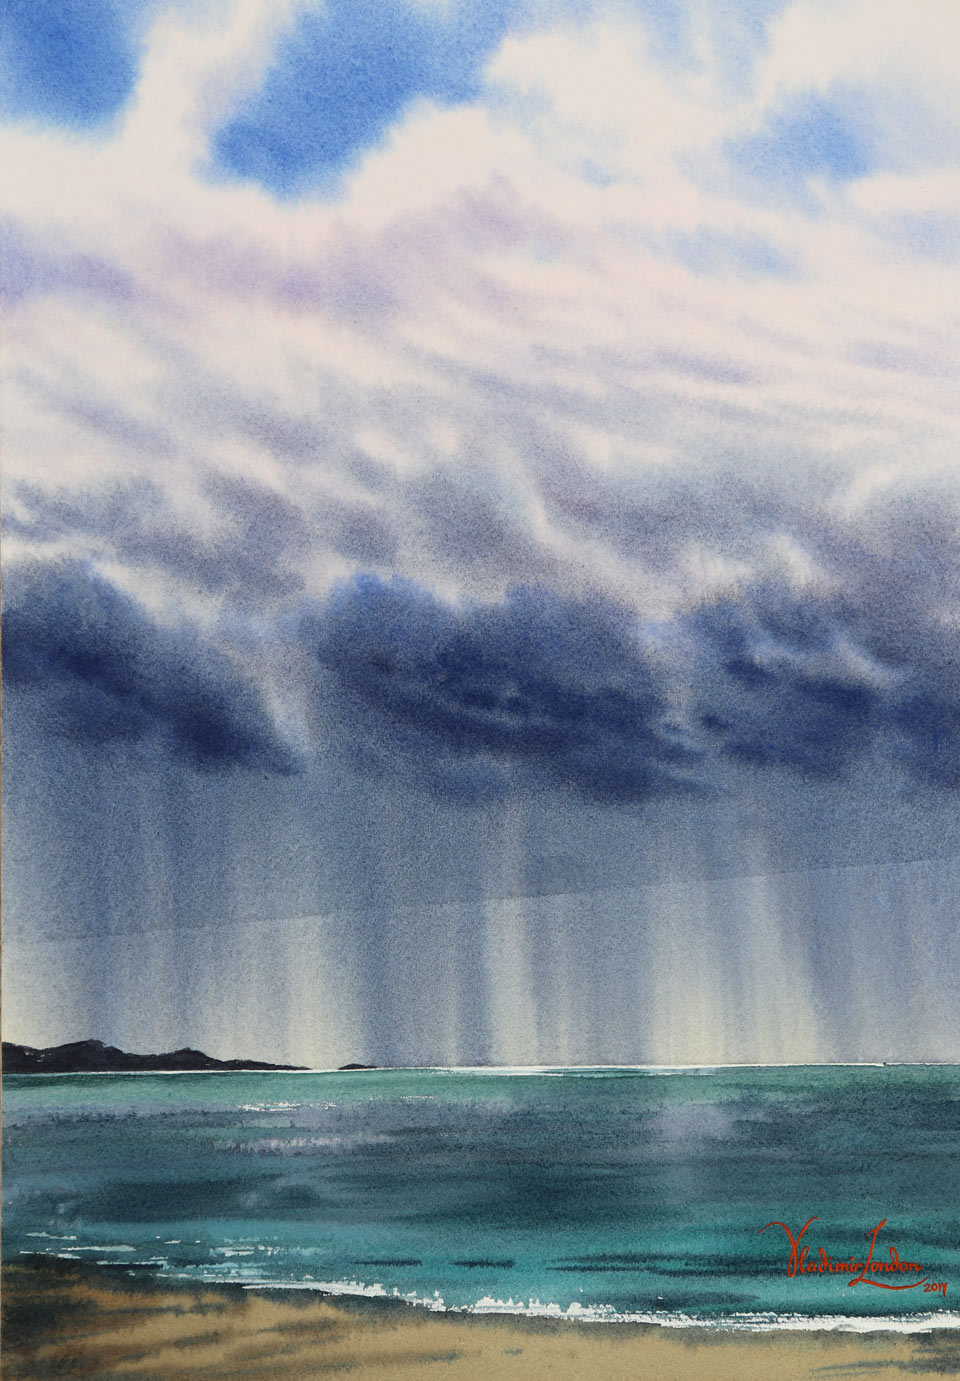
Before I begin painting in watercolour, I make a straight line along the horizon with the masking fluid. I have to say that using masking fluid is not something I do too often. However, there are cases when masking is necessary; and this line will be helpful later on. After the masking film is fully dry, I use a flat soft synthetic brush and clean water, to wet the entire front surface of the watercolour paper sheet. This is high quality 100% cotton watercolour paper, which has 300 gsm weight, and comes with the cold-pressed surface, which is also referred to as 'Not'. I turn over the paper sheet, and then wet the reverse surface. It will take several minutes for the paper to absorb water and expand in size, Afterwards, will stretch it on the wooden board using a staple gun.
I accurately place the wooden board on top of the watercolour paper sheet, which has expanded already, and staple the paper edges to the board. I begin stretching from the middle of the long side, then accurately lift the board and gently pull the watercolour paper, making sure that its surface is totally flat. I then staple paper edges on the opposite long-side of the board, placing one staple in the middle, and two more on either side, with about a 5cm distance between each staple. After that, I can continue with stapling the opposite long-side, gradually moving from the middle to the corners.
Before I get to the corner, I turn the board 90 degrees in order to fix the paper edge in the center of the short side. I then put two more staples on either side, keeping the 5cm distance between each staple. Afterwards, I do the same on the opposite side, and then finish stretching this paper by stapling its corners. While I was stretching the paper, it was drying; therefore, I wet the sky area once again. At the same time, it is important not to oversoak the paper with water.
I placed the board upside down, titling it at about 15-degree angle. This results in its bottom side, which is now at the top, being raised a bit higher than its opposite end. I apply a stripe of Naples Yellow paint with a flat brush from Escoda, and then continue this yellow color with a pink paint, which is very light and transparent. I apply both colors wet-into-wet; as you remember, this ties in with the name of this video lesson, which was of course, 'how to paint sky and water using the wet-into-wet watercolour painting technique'. I now rotate the board the correct side up and premix pure blue Ultramarine paint on the palette. It is important not to add too much water into this mix.
I apply this blue mix with a natural-hair flat paintbrush. There is a reason as to why I am using the flat brush – it holds less water than the equal width round brush. Because the paper surface is still wet, I do not want to overload the brush with liquid paint, in order for the brush strokes to stay in place and to not run down in streams uncontrollably. Since the brush is not wet, but instead rather moist, it has enough pigment but little water. Therefore, a balance between the wetness of the paper and the amount of water on the brush needs to be just right, in order for brushstrokes to stay in place and diffuse slightly – this gives us very nice, soft borders. The pure blue Ultramarine color is used for the stretches of clear sky between clouds. I preserve the light tone of those clouds by painting around them.
I add a little bit of rose paint into blue Ultramarine to achieve a violet color. This warmer mix is used to paint clouds. I do this with the same flat paintbrush in order to keep the amount of water under control. How wet both the watercolour paper and paintbrush are is very important in watercolour painting. Right now, the degree of wetness of the watercolour paper sheet is 'satin'. To explain what this means, I will talk you through the different degrees of wetness. When a sheet of watercolour paper is dipped into water, or plenty of water is applied with a brush or a sponge, the degree of paper wetness is 'soaking wet'. After several minutes of dripping and absorbing water, the paper becomes 'glossy'. This means that its surface will be highly reflective and a very thin layer of water will remain visible. After several more minutes of drying, this paper sheet will become 'satin', meaning that its surface is no longer reflective, but is still wet on touch. This is exactly the degree of wetness that this watercolour sheet has right now.
The painting brush also does not have too much water; if I squeeze its belly with my fingers, water will not drip from it, but my fingers will become wet. Therefore, the name of the wet-into-wet painting technique doesn't fully describe the degree of wetness, because 'wet' can mean anything from 'soaking wet' through to 'glossy' and 'satin'. But at least now you have an idea as to how wet the paper surface is, and how much water is on the brush.
As I am painting the clouds further down, two things are happening: firstly, I am using a slightly darker and less saturated blue color, and secondly, I am loading a little more water on the brush. This produces bolder and darker clouds with softer borders. I have mixed a very dark blue color to paint the shelf cloud with. Shelf clouds are stunning feature of nature; they occur mainly in spring and summertime, and because such clouds are very low-hanging, they look very impressive. Such shelf clouds most often form just before thunderstorms. They usually have a horizontal formation, and often appear like a shelf, hence the name.
Sometimes, a clear blue sky appears above shelf clouds, which creates a very dramatic contrast between the light blue color of the sky, and the very dark color of the shelf cloud. I am now painting with a soft-hair mop paintbrush from Escoda, which holds more liquid in its large belly - this is a great tool to apply a juicy wet-into-wet wash. I then increase the board angle, to allow gravity to do its job. By doing this, you may see the paint flowing down – to increase this process, I am loading more and more blue paint onto the paper.
I have to say that this is a make-or-break point of this artwork; should I miscalculate the wetness of the brush, or the amount of blue pigment, such a mistake may ruin this painting. There is a fine balance between allowing paint to flow while keeping this process under control. I can now add a slightly darker blue paint, and wait until it reaches the dark gray line of the masking film. I lifted the board to allow gravity to take part in this creative process. I don't want to overload the paper surface with paint, so I wait for about 20 more seconds for the dark blue paint to flow down steadily. You may see that the blue mix on the left-hand side already touches the masking film. This means that it is time to pick up a flat brush, load a little bit of Naples yellow onto the brush, and spread out the blue pigment with confident horizonal brushstrokes. So far, so good – everything has worked out as planned. I now prepare another portion of the dark blue mix, using Payne's Gray, Indigo, and a bit of Ultramarine. I also add a little bit more water than previously, allowing the paint to flow more quickly. Gravity pulls the mix down, and it runs freely on the surface of paper, creating an impression of the rain. Hopefully this time everything will go as it should. By the way, this is not my first attempt to create such an artwork. Because gravity and water are my co-creators, there is no guarantee – I am hoping that this painting will turn out as I want it to be.
When the paint mix reaches the horizon line, I absorb excess paint with the damp brush. Because I didn't cover the entire area of the sea with masking fluid, I don't want this dark pigment to flow any further. It will take a bit of time for the dark paint to flow and reach the horizon, so I will fast-forward to the step where the paper surface is already dry. It is time to take the redundant masking film off of the paper.
To stick to the topic of this video lesson, of how to paint in watercolour wet-into-wet, I moisten the unpainted part of the watercolour paper sheet with clean water, using a flat wide brush. While the paper surface is absorbing water, I prepare the color for the sea. I am aiming to achieve a greenish shade, by mixing the turquoise blue deep paint from Old Holland, with the blue Ultramarine paint, which is already on the palette. I also add a little bit of Raw Sienna to make this color appear a bit warmer and greener. I apply this mix with a flat paintbrush which holds less water, because the paper surface is wet, and I would like these brushstrokes to stay in place without spreading too much. I am accurately leaving a small white gap between the brushstrokes and the horizon line; this is done on purpose. I will later close this gap a little bit, but some white paper will remain unpainted, creating an illusion of a highlight on the horizon.
With the green stripe of the sea in place, I now increase tonal values by applying the dark blue mix that was used for the clouds. Since this area of the sea reflects the clouds, it makes sense to use the same color and make this place darker. I am gradually increasing the tonal values by adding more mixed paint into this area. Because I am painting wet-into-wet, the neighboring brushstrokes softly intermix with each other, and it is easy to make gradations of colors and tones. To depict the sea water, I am using the variegated wash watercolour painting technique. This technique is fully explained and demonstrated in the Watercolour Academy video course, along with many other painting methods and techniques.
A self-study, self-paced course where you can learn how to paint in watercolor by watching video lessons and doing assignments
One-time payment - Lifetime membership
$297 USD
One-to-one, unlimited and custom-tailored to your skills and needs Personal Tutoring by the Watercolor Academy teachers
One-time payment - Lifetime membership
$997 USD


